Freezers allow cooked and uncooked meals to be stored for long periods so when we are in a hurry we can always have a meal prepared quickly.
I always have cooked beans and lentils in my freezer, as well as baked pizza bases, fish cakes and patties of all kinds. Most soups are excellent for freezing and reheating. Nearly all baked breads (except crusty French loaves) can be frozen and reheated in a moderate oven for 15 mins. Frozen pizza bases make perfect weekday meal; you can bake frozen bases with added toppings and cheese immediately in a moderate oven, no need to thaw the bases at all.
I find time on the weekends to make meals that can be frozen and then reheated and eaten during the busy week days.
I have included a great link in the reference section where you can find information on how to store foods in the freezer.
Recipe Sources:
Frost bite (everyday food fresh from the freezer) by Susan Austin
http://www.bbcgoodfood.com/howto/guide/top-tips-freezing-food
Blog-checking lines:
This month, the Daring Cooks challenged us to think inside the box - the icebox, that is! Audax taught us some really cool tips and tricks for stocking our freezers with prepare-ahead meals that can keep our taste buds satisfied even during the busiest of times.Posting Date:
August 14, 2014DOWNLOAD THE PRINTABLE FILE HERE.
Notes:
Top 10 freezing tips
Whether you have a chest or upright freezer, the principles of successful freezing are the same.
1. Freeze quickly and defrost slowly is the number one tip. This process will give you the highest quality frozen food which retains the taste, texture and nutrients of the meals that you prepare. Always defrost in the refrigerator overnight the frozen meal you wish to make for the next day.
2. Cool foods before you freeze them. Freezing food when they are hot will only increase the temperature of the freezer and could cause other foods to start defrosting.
3. Never re-freeze anything that's been frozen. Even if the food was frozen raw and then cooked, to be extra safe it still shouldn't be re-frozen.
4. A full freezer is more economical to run as the cold air doesn't need to circulate so much, so less power is needed. If you have lots of space free, fill plastic bottles half full with water and use them to fill gaps. Alternatively, fill the freezer with everyday items you're bound to use, such as sliced bread or frozen peas.
5. It's a wrap. Make sure you wrap foods properly or put them in sealed containers, otherwise your food can get freezer-burn. Use strong cling-wrap, foil or metal/glass containers.
6. Portion control. Freeze food in realistically sized portions. You don't want to have to defrost a stew big enough to feed eight when you're only feeding a family of three. Leave a ¾ inch (2 cm) gap to allow for expansion of high water content foods (soups, etc).
7. If in doubt, throw it out. Contrary to what many people think, freezing doesn't kill bacteria. If you are unsure of how long something has been frozen or are a bit wary of something once defrosted, don't take any chances.
8. Stay fresh. You get out what you put in, as freezing certainly won't improve the quality of your food. Don't freeze old food because you don't want to waste it; the point of freezing is to keep food at its prime.
9. Friendly labels. It may seem a bother at the time, but unless you label you might not remember what it is, let alone when it was frozen. Buy a blue marker for raw foods and a red marker for cooked foods. You don't have to write an essay, just label the food clearly. You can use big-lettered abbreviations, for example a big red P means cooked pork or a blue F means raw fish. And always add the date it was frozen.
10. Defrosting your freezer is a must. An icy freezer is an inefficient one, so make sure you defrost your freezer if ice builds up. Don't worry about the food; most things will remain frozen in the fridge for a couple of hours while the freezer defrosts.
11. In an emergency... If there has been a power outage or you think the freezer has been turned off at some point, don't open the door. Foods should remain frozen in the freezer for about 24 hours, leaving you time to get to the bottom of the problem.
What not to freeze...
Most individual ingredients can be frozen. However, some foods simply aren't freezer friendly:
Raw eggs in the shells will expand and crack. You can freeze egg whites and yolk in containers.
Hard-boiled eggs go rubbery.
Vegetables with a high water content, such as lettuce, cucumber, bean sprouts and radishes, go limp and mushy.
Soft herbs, like parsley, basil and chives, go brown.
Egg-based sauces, such as mayonnaise, will separate and curdle.
Plain yogurt, low-fat cream cheese, single cream and cottage cheese go watery.
Great to freeze
All these everyday ingredients will freeze well.
Butter and margarine can be frozen for 3 months.
Grated cheese can be frozen for up to 4 months and can be used straight from the freezer.
Most bread, except crusty varieties such as French bread, will freeze well for up to 3 months. Sliced bread can be toasted from frozen.
Milk will freeze for 1 month. Defrost in the fridge and shake well before using.
Raw pastry will freeze for 6 months and takes just 1 hour to thaw.
Cooking from frozen
Freezer management is all about forward planning, but some dishes can be cooked straight from frozen. When cooking food from frozen, use a lower temperature to start with to thaw, then increase the temperature to cook. Foods include:
Soups, stews, braises and casseroles.
Bakes, gratins and potato-topped pies.
Thin fish fillets, small fish, sausages, burgers, and seafood if added at the end of a hot dish.
Mandatory Items:
You must make a meal that can be frozen for later useVariations allowed:
You can make any dish you wish that can be frozen.Preparation time:
Recipe one – 40 mins – 60 mins depending on type of lentils. (Overnight soaking might be needed.)
Recipe two – 15 mins preparation time, rising time for dough 1-2 hours
Recipe three – 40 mins preparation time
Equipment required:
Measuring Cups
Sharp knives for chopping and dicing
Baking dish
Sauce pan
Fry pan
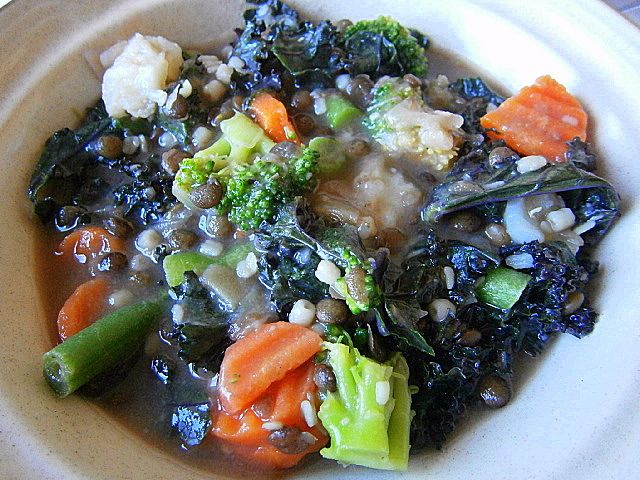
Recipe 1: Lentil, Pasta and Vegetable Soup
Servings: 6
This is a simple, toothsome and wholesome soup that can be made up on the weekend and reheated during the week. It is stew-like in its texture. You can add ½ cup of shredded cooked chicken if you wish to make it even more filling.
Ingredients
1 cup (250 ml) (200 gm) (7 oz) lentils (I used small French lentils)
6 cups (1½ litres) stock (chicken or vegetable)
½ cup (125 ml) (100 gm) (3½ oz) small soup pasta
1 carrot, grated (or 1/2 cup of finely shredded cabbage)
1 potato, finely chopped
1 onion, finely chopped
Optional 2 cloves garlic, finely chopped
2 tablespoons extra virgin olive oil
1 bunch spinach (or other greens), leaves shredded
1 cup frozen vegetables (carrots, broccoli, beans, etc.)
salt and pepper to taste
Directions:
1. Check the cooking time for the lentils on the packaging. Check if the lentils need soaking overnight. Small French lentils don't need soaking while brown/green lentils need an overnight soak in cold water. Use lentils that retain their shape when cooked.
2. Simmer the lentils in the stock for 15 mins (for small French lentils) or 30 mins (for soaked brown/green lentils) until three-quarters tender. Add some salt half-way through cooking process. (If you add salt to early it will increase the cooking time of beans and lentils significantly). Check occasionally and add more stock/water as needed.
3. While the lentils are cooking, saute the chopped onion, chopped potato and grated carrot (and optional garlic if using) in a fry pan using the oil; for 3-5 mins until soften. Reserve.
4. When the lentils are three-quarters tender add the onion, carrot, potato (and optional garlic) mixture and uncooked pasta to the lentils and simmer until the pasta has increased in size by twice and the vegetables and lentils are tender (about 10-15 mins).
5. Place into containers (leaving ¾ inch (2 cm) room for expansion), cool on counter for ten minutes
6. Place into freezer up to one month.
7. Defrost overnight in fridge, reheat slowly (check for seasoning). When simmering add frozen vegetables. Simmer until almost tender then add fresh spinach (or others greens). Simmer until wilted, serve with crusty bread.
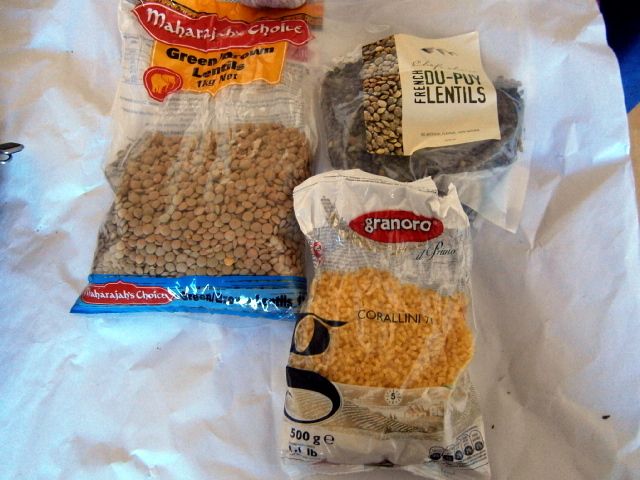
Ingredients – French lentils, brown/green lentils and soup pasta. French lentils need no soaking and take 25 mins to cook while brown/green lentils need an overnight soak and take about 40 mins to cook.
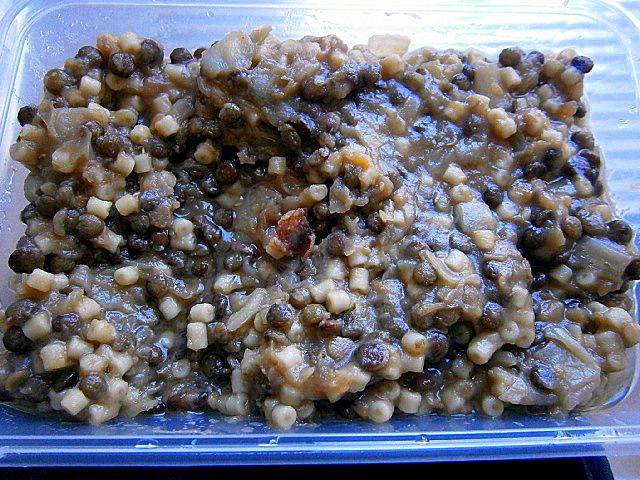
Cooked lentils and soup pasta

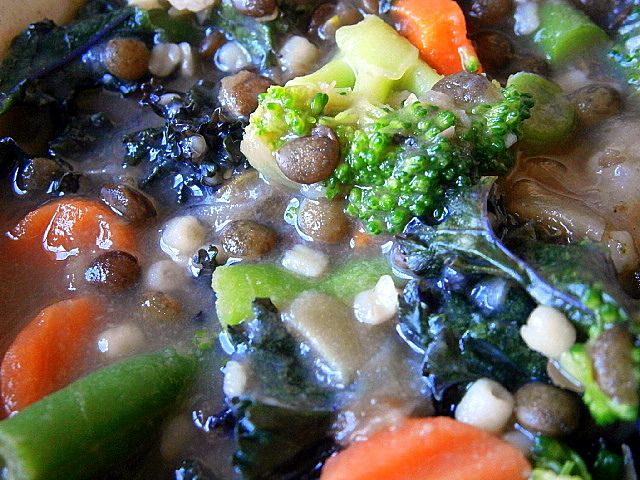
Finished soup
Recipe 2: Potato Bread Pizza Base
Servings: makes 6 large thin crust pizza bases, or 3 large thick crust pizza bases, or 1 very large extra thick pizza base
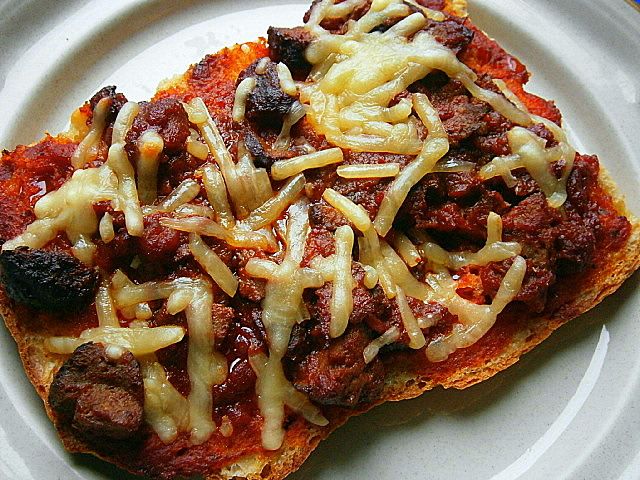
Potato bread (using the water that the potato was boiled in and the mashed potato) makes for a crisp crust and extra soft crumb (interior texture) in the pizza base, and also increases the shelf life of the baked bread. Also yeast just love potato starch which makes the rising process a joy to watch; your dough will be full of large, soft, luscious bubbles during the proofing stage. This is my standard pizza base and makes a lot of bases. You can halve the recipe if you only want to make a couple of bases (keep the same amount of yeast and use 2 teaspoons of salt). Use the pizza base frozen straight from the freezer, just top with tomato sauce and your favourite toppings (sausage, chopped cooked chicken, mushrooms, etc.) and cheese and bake in a moderate oven until piping hot. A pre-baked pizza base gives the best pizza result since the base has been baked at a much higher temperature, giving a great texture (to the crust) and taste (to the crumb), while the toppings are baked at a much lower temperature just to heat the toppings and melt the cheese.
Ingredients
6 cups plain (all-purpose) flour (or strong bread flour)
2 cups of warm potato water (use the water that the potato was boiled in)
1 large potato
3 tablespoons of extra virgin olive oil
1 tablespoon of active dry yeast (or one packet of yeast)
1/4 teaspoon of sugar
3 teaspoons salt
Directions:
1. Chop the potato and boil in 3 cups of water until tender. (You can peel the potato or leave the skin on). Mash the potato.
2. Wait until the potato water is warm. Top up the volume until you have 2 cups of liquid.
3. Add the sugar and the yeast into the water. Wait about 5-10 mins until the yeast becomes foamy.
4. In a large mixing bowl add the flour, mashed potato, oil, yeast mixture and the salt.
5. Knead the dough mixture until a ball forms, about 3 mins. (At this stage you can place the dough in the fridge up to three days; allow the chilled dough to warm up to room temperature and proceed with the recipe as below.)
6. Place into an oiled bowl covered in plastic wrap or a clean tea towel. Set aside in warm place until it has doubled in volume.
7. Punch down the dough and knead until soft and pliable (about 5 mins).
8. Spread the dough over your baking trays cover with plastic wrap or a clean tea towel. Set aside in a warm place until it has doubled in volume.
9. Bake in a preheated hot oven (425°F/220°C/gas mark 7) for 20 mins for thin crusts, 30 mins for medium crust or 40 mins for the very thick crust base respectively. Check the base to see if it is brown and crusty
10. Cool completely on a rack.
11. Cover tightly in plastic wrap (or foil), place into freezer up to one month.
12. When needed, bake the frozen base with toppings added in a preheated moderate oven 350°F/180°C/gas mark 4 for 20 mins for thin crusts or 30 mins for thick crust bases.
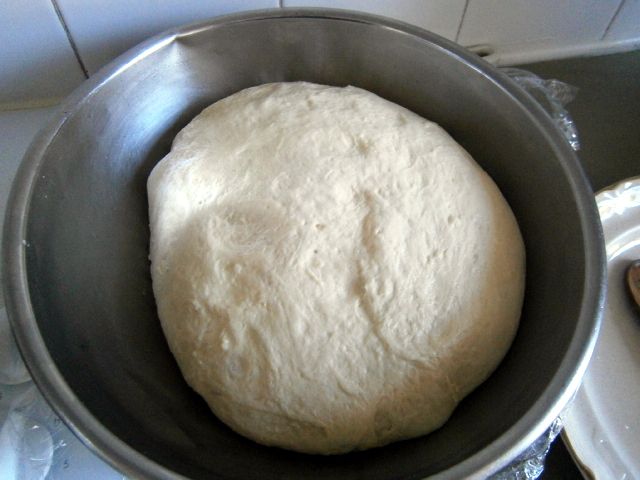
Dough ball
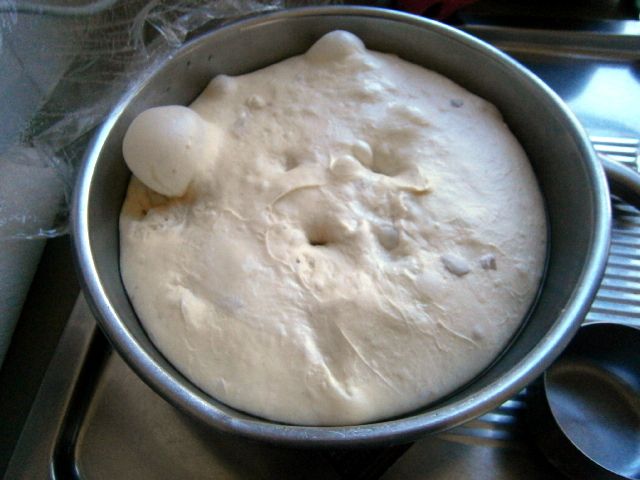
The risen dough – notice the huge bubbles in the dough
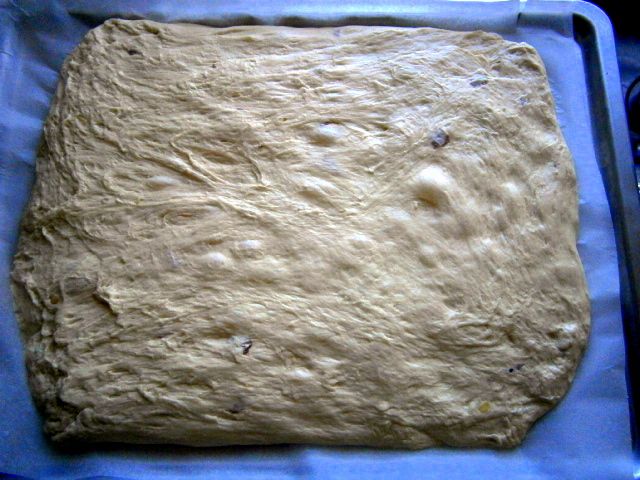
Dough ready to be baked on a pizza pan
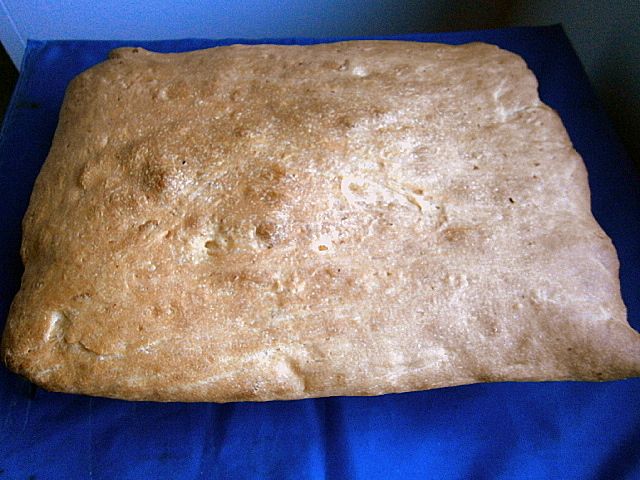
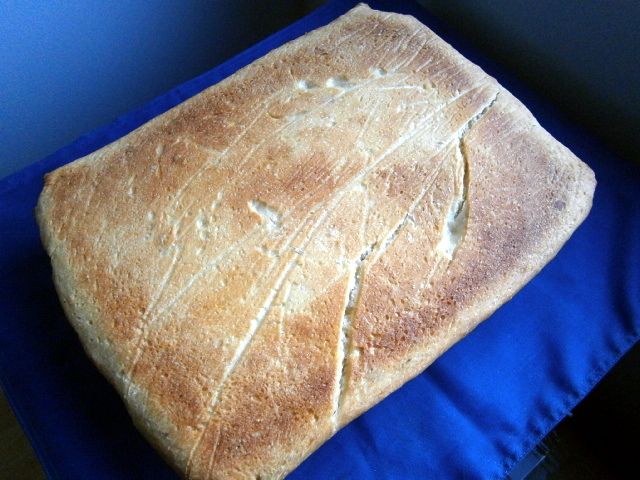
Baked pizza base
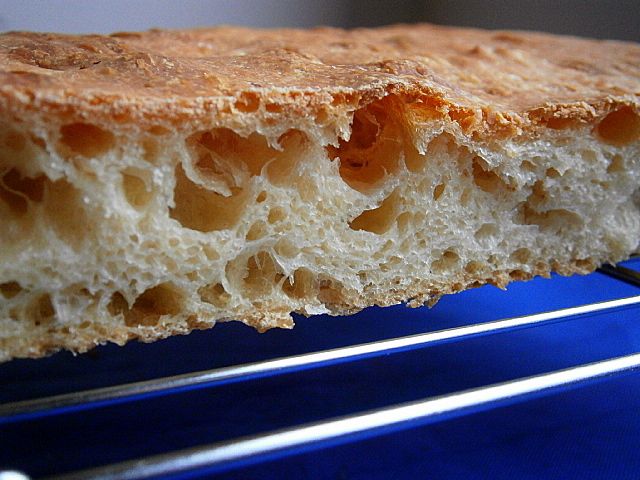
Notice the crumb of the pizza base
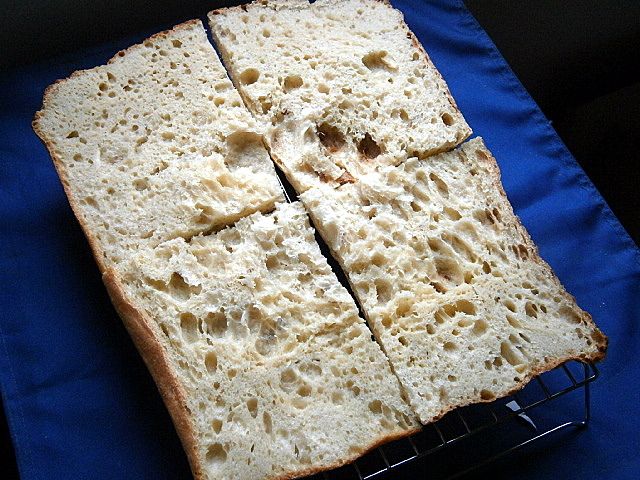
I usually make one extra thick pizza base and split into lunch sized pizza bases. I can make 8 bases (only four are shown)
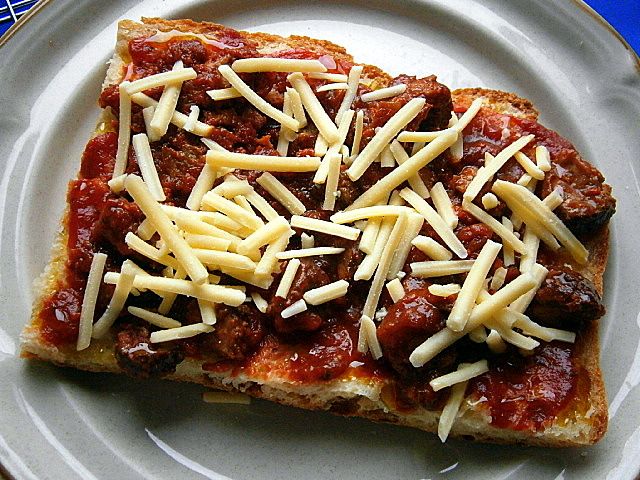
Unbaked frozen pizza base with toppings

Pizza ready to eat (yum)
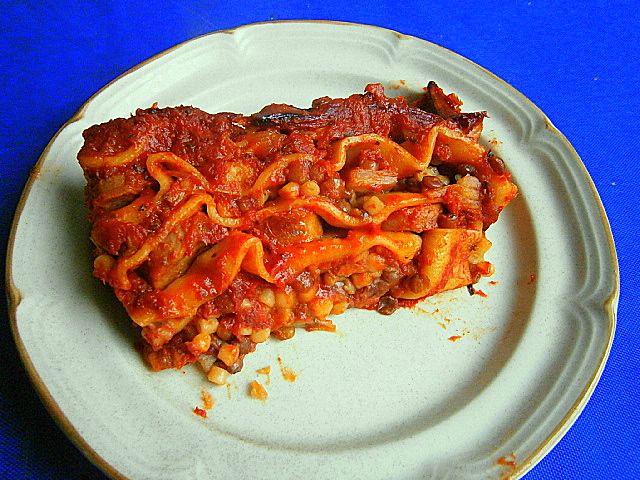
Recipe 3: Lentil and Sausage Lasagna
Servings: 6
Lasagna is the perfect freezer meal. You can make up the unbaked lasagna on the weekend then store in the freezer up to one month. You can cook the lasagna straight from frozen (baking time is doubled) or thaw overnight in the fridge and bake for the normal time. This recipe uses lentils and sausage with tomato sauce. If you wish you can use some cheese sauce.
Ingredients
1 packet (250 gm) (9 ozs) of fresh lasagna sheets
3 cups (750 ml) tomato passata, (Italian tomato cooking sauce)
2 cans (3 cups) drained cooked lentils
1 onion, chopped, fried and cooled
4 sausages, cooked, thinly sliced and cooled (I used turkey sausages)
1 cup of shredded cheese
Directions:
1. Ladle a thin layer of passata on the base of a baking pan.
2. Place a layer of lasagna sheet on the passata.
3. Place 1/3 of the lentils and 1/3 of the onions on the pasta layer, cover with some passata.
4. Place another layer of lasagna sheets on the passata. Cover the lasagna sheet with some passata.
5. Place a layer of thinly sliced sausage and cover with some passata.
6. Cover with a layer of pasta sheet.
7. Continue layering until all the ingredients are used. Making sure the last layer is a lasagna sheet.
8. Cover with passata and cheese.
9. Tightly cover the baking dish in plastic wrap or foil.
10. The dish can be frozen for one month.
11. Bake in a preheated moderate oven 350°F/180°/gas mark 4 for 1 hour if thawed or 2 hours if frozen.
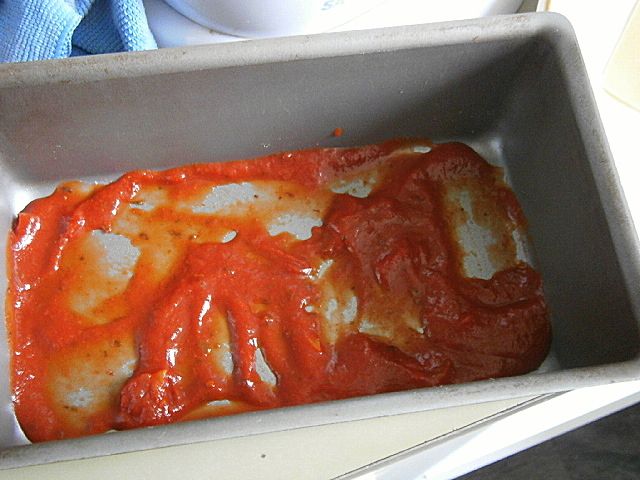
Ladle some tomato passata on the base of the baking pan
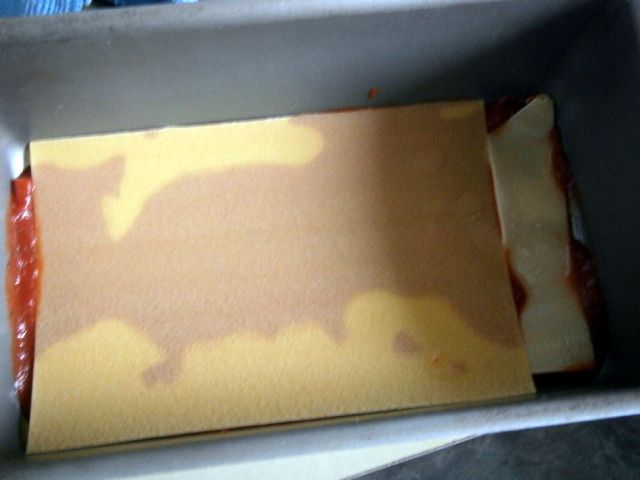
Cover with lasagna sheet
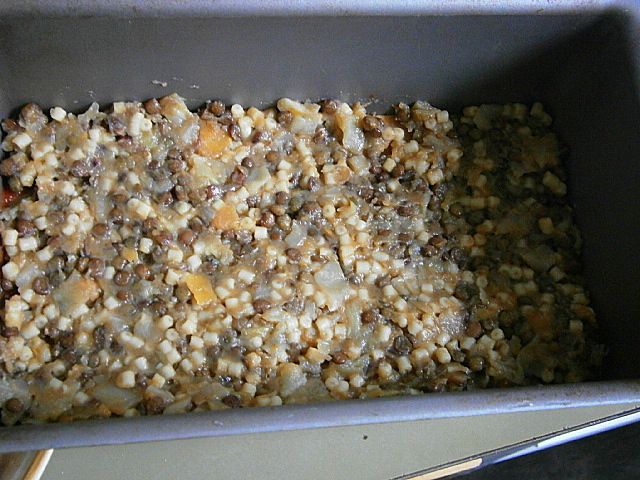
Cover with lentils/onion mixture
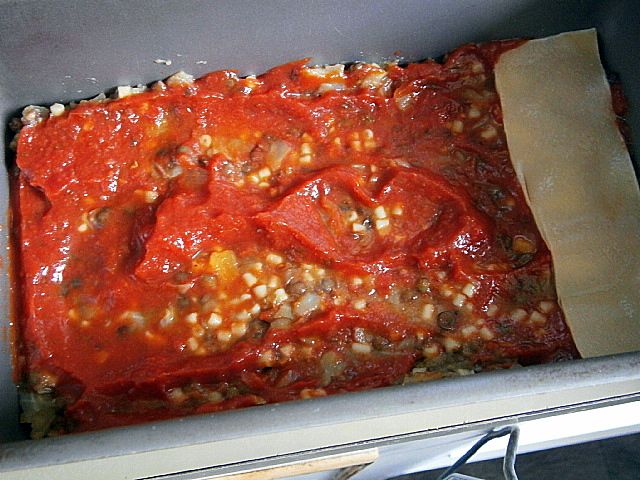
More passata on top
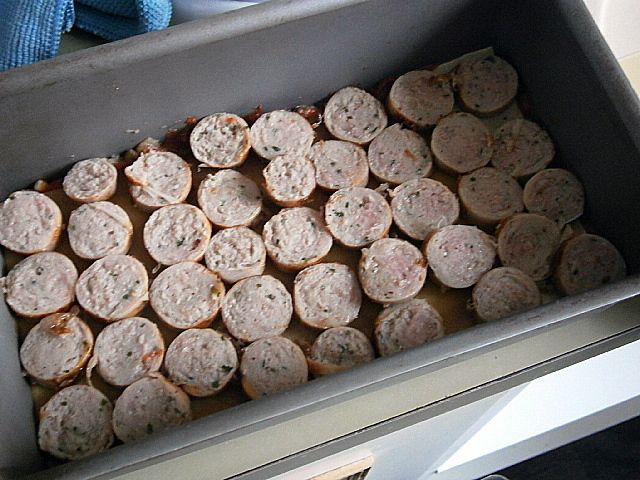
A layer of sliced sausage, repeat this process using up all the ingredients
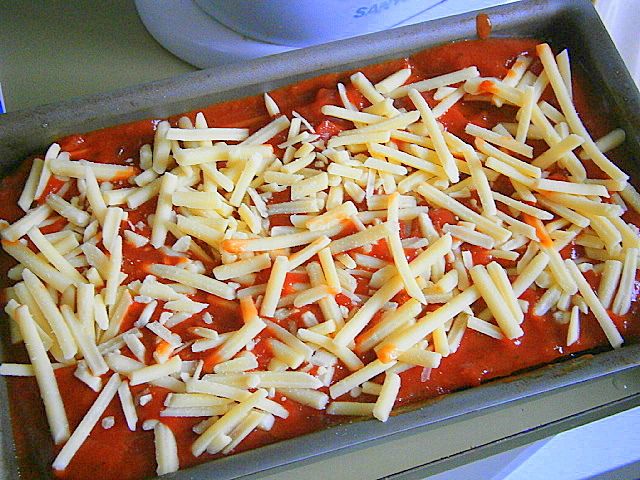
Top with passata and cheese
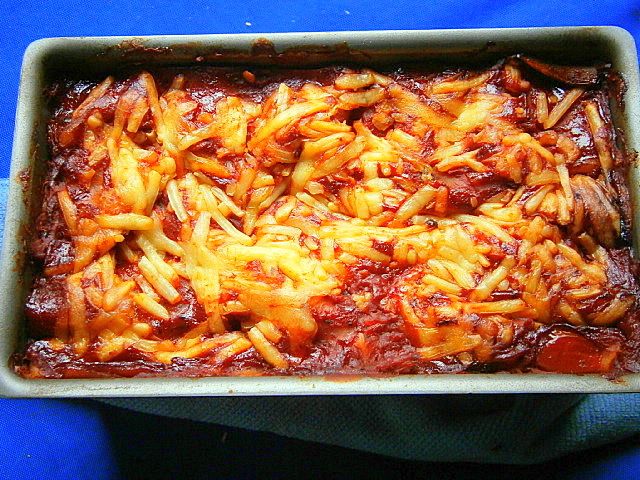

Baked lasagna
Additional Information:
27 tips for freezing foods - http://www.realsimple.com/food-recipes/shopping-storing/freezing/freezer-fundamentals-10000001012301/
6 comments:
Audax, thanks so much for hosting such a useful challenge! I couldn't make meals exactly because my freezer is full at the moment but was happy to share my little freezing tips that make my life in the kitchen so much easier. I loved all your suggestions and can't wait to try that awesome pizza dough.
You're amazing!
Thanx Audax for the great challenge and recipes. The potato bread pizza base will be made more often thanks to you!
They all look so very tasty!!
cara bermain baccarat
cara daftar judi slot online
cara daftar judi bola
link alternatif sbobet 2020
link alternatif bola88 terbaru
cara daftar maxbet
cara bermain judi bola online
ultimate gaming
wm casino
panduan bermain baccarat
panduan daftar judi slot
panduan bermain judi bola online
link alternatif sbobet resmi
link alternatif bola88 resmi
panduan daftar maxbet
cara bermain judi bola
agen ultimate gaming
agen wm casino
tips bermain baccarat
cara daftar judi slot
cara bermain judi bola online
link alternatif judi bola sbobet
link alternatif bola88 terbaru 2020
cara daftar judi bola maxbet
panduan judi bola online
bandar ultimate gaming
bandar wm casino
Post a Comment